

When freezing temperatures arrive, protecting your RV’s plumbing becomes a critical maintenance task. Water that remains in pipes, fittings, and valves can expand when it freezes, causing expensive damage including cracked pipes, leaking faucets, and structural water damage inside cabinets and walls. Blowing out your RV water lines is one of the most effective winterization methods available, and it’s a task any RV owner can handle with the right approach.
Why Water Line Blow-Out Matters for Your RV
Gravity draining alone doesn’t remove all water from your plumbing system. Small amounts can collect in low spots, exterior fixtures, and valve seats, creating the perfect conditions for freeze damage. A burst water line doesn’t just leak quietly either; it can soak insulation, flooring, and wall panels before you discover the problem in spring. Blowing out the lines uses regulated compressed air to clear water that standard draining misses, giving your RV real protection during cold months.
Tip 1: Choose the Right Air Compressor Setup
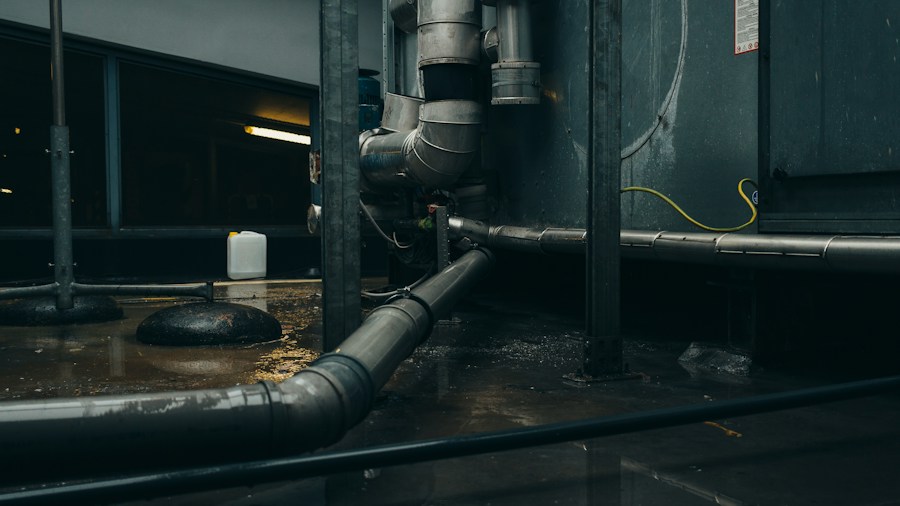
You don’t need a heavy-duty shop compressor for this job. A small portable unit with a regulator and pressure gauge is all you need. The critical factor is pressure control: set your compressor to exactly 30 PSI, which is the recommended maximum for most RV plumbing systems. Never connect an unregulated compressor directly to your RV, as excessive pressure can damage lines and fittings. If your compressor has been used for shop work, attach an inline air filter to prevent oil, rust, or debris from entering your fresh water system.
Tip 2: Invest in a Quality Blow-Out Plug
A solid brass blow-out plug that screws into your city water inlet is far more reliable than lightweight plastic adapters. Quick-connect plugs attach directly to your air hose for hands-free operation, while valve-stem plugs work with an air chuck but require you to hold them in place. Test your plug before winterization day to ensure a tight fit without leaks. Hand-tighten only; over-tightening can damage the fitting.
Tip 3: Drain Your System Completely First
Before connecting any compressed air, empty your fresh water tank completely and open all low-point drains on both hot and cold lines. Let gravity do the initial work by opening faucets and exterior shower valves until water stops flowing. This step removes the bulk of the water and makes the air blow-out process faster and more effective. Don’t forget to drain your water heater according to its specific instructions, then bypass it so air and antifreeze won’t enter the tank during winterization.
Tip 4: Clear Every Fixture and Accessory Line
This is where many RV owners make mistakes. Don’t just assume the main lines are clear. Work through each fixture systematically: indoor faucets, outdoor shower, toilet supply line, outdoor kitchen, exterior sprayers, and quick-connect ports all need individual attention. Open one fixture at a time until only air comes out, then close it before moving to the next one. Include appliance lines for ice makers, water dispensers, and washers. Short bursts of air work better than one long push, and they give your compressor time to recover between fixtures.
Tip 5: Handle Your Water Heater with Care
Tank-style water heaters require draining and bypass setup before any air work begins. However, tankless water heater systems are different and should never be pressurized with compressed air. Check your owner’s manual for tankless models and follow the manufacturer’s specific winterization procedure instead of assuming tank-style steps apply.
Tip 6: Consider the Hybrid Method for Extra Protection
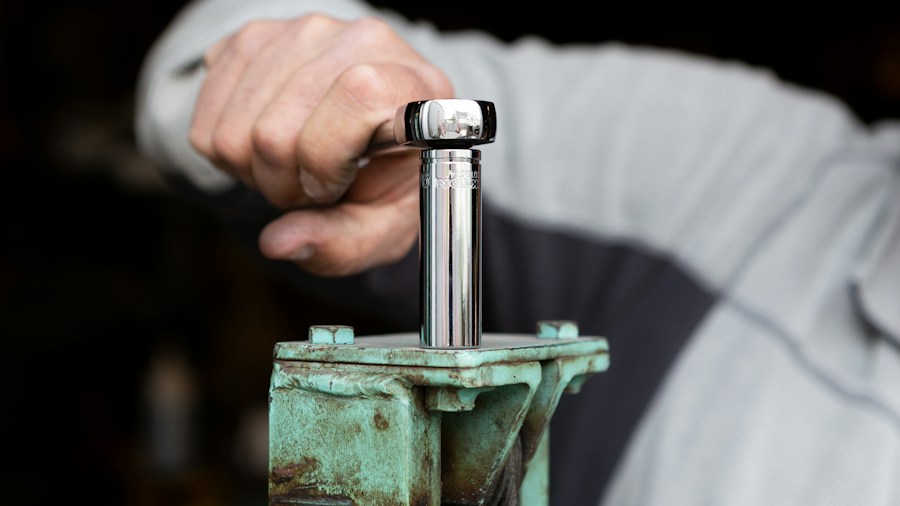
Blowing out lines with air removes most water, but it won’t protect P-traps and the toilet seal. Many experienced RVers combine air blow-out with RV or marine plumbing antifreeze for maximum protection during long storage or harsh freezes. After blowing out the lines, run non-toxic RV antifreeze through the pump to coat drains and fixtures. This hybrid approach adds another layer of security without the hassle of filling entire supply lines with antifreeze. Always use only RV or marine-grade antifreeze; never substitute automotive antifreeze, which is toxic.
Tip 7: Document Your Winterization Work
Before storing your RV, write down the date you winterized, which method you used (air only or hybrid), and any filters you removed. This simple record becomes invaluable come spring when you’re de-winterizing. Knowing exactly what you did helps you reverse the process correctly and avoid mistakes that could damage your system.
The RV industry continues to evolve with innovations in dealer transparency and service education. For example, Chinook RV has introduced transparent pricing tools for motorhome shoppers, making it easier for owners to understand their RVs inside and out. Taking the same level of care with winterization protects your investment year after year.
Blowing out your RV water lines takes a few hours but prevents thousands of dollars in repairs. Approach the task methodically, maintain consistent 30 PSI pressure, and clear every single fixture. Your plumbing system will thank you when camping season returns without costly freeze damage.










Write Your Review
No reviews yet. Be the first to share your experience!