

Getting your vehicle ready for a long road trip involves more than just checking the tire pressure and fuel level. A thorough cleaning before departure makes a significant difference in how enjoyable your journey will be. Starting with a spotless car means less time dealing with accumulated dirt along the way, and a clean interior keeps both you and your passengers comfortable throughout the adventure.
Why Pre Trip Cleaning Matters
Hitting the road with a clean car has real practical benefits. A fresh exterior makes it easier to spot any damage or maintenance issues that might have been hidden under grime. More importantly, when you begin your trip with a clean slate, any new dirt you pick up stands out rather than blending in with existing debris. This is especially relevant if you’ll be driving on unpaved roads or in dusty conditions. A clean interior is equally critical, particularly if you’re traveling with family members who will add to existing floor mat dirt and seat stains over the course of your journey.
Preparing Your Vehicle’s Exterior
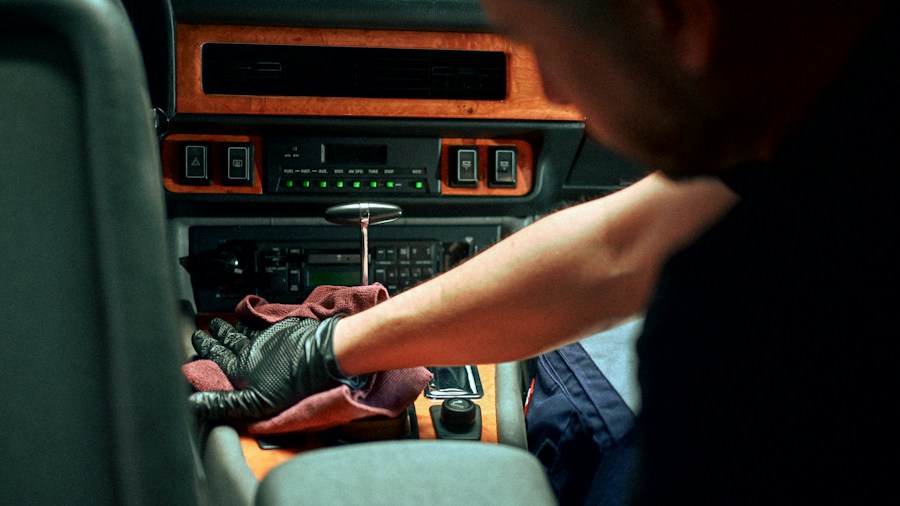
Start by allowing your car to cool completely before washing. A warm vehicle surface can cause water spots and mineral deposits that are difficult to remove later. Begin with a thorough rinse using plain water to dislodge loose dirt and debris that could scratch your paint if left unchecked.
Use only automotive-specific wash soap and a soft sponge or wash mitt, never household cleaning products. Work systematically from the top of the vehicle downward, completing one section before moving to the next. Rinse your wash mitt frequently throughout the process to avoid reapplying dirty residue to clean areas.
Pay extra attention to wheel wells and the lower body where tar, grease, sand, and brake dust accumulate. A separate soft cloth works well for stubborn grime, while a dedicated sponge reserved for wheels prevents cross contamination. If you use wheel-specific cleaners, confirm they’re compatible with your wheel finish first. Rinse everything thoroughly and dry the entire vehicle with a soft chamois or microfiber towel rather than air drying, which leaves spots behind.
Don’t overlook door jambs when you open the doors, as these areas collect surprising amounts of dirt and grime. Once your exterior work is complete, consider applying a protective coat of wax to shield your paint from bird droppings, tree sap, and road salt during your travels. Apply wax to small sections at a time, allow it to dry, then buff it away with a clean microfiber cloth.
Tackling the Interior
Interior cleaning requires careful attention to detail. Remove floor mats and clean them separately along with the carpet. For stains, apply a small amount of carpet cleaner appropriate for automotive use and work the area with a damp microfiber cloth. Avoid saturating the carpet, as excess moisture can promote mold growth and musty odors. Vacuum underneath the seats thoroughly and use an upholstery brush to remove pet hair, crumbs, and embedded dirt.
For leather or vinyl seats, vacuum crevices first, then wipe surfaces with a soft, damp cloth and saddle soap. The dashboard and trim pieces require attention around small gaps where dust collects. Use microfiber cloths and automotive interior cleaner on these surfaces, employing a soft brush for tight crevices. Avoid glossy dashboard products that can create windshield glare.
Clean your glass surfaces with ammonia free automotive glass cleaner and dry with microfiber cloths. However, never use glass cleaner on your infotainment screen, as it can damage the protective coating. Instead, gently wipe your display with a clean, dry microfiber cloth or even an eyeglass cleaning cloth.
Adding Protective Finishes
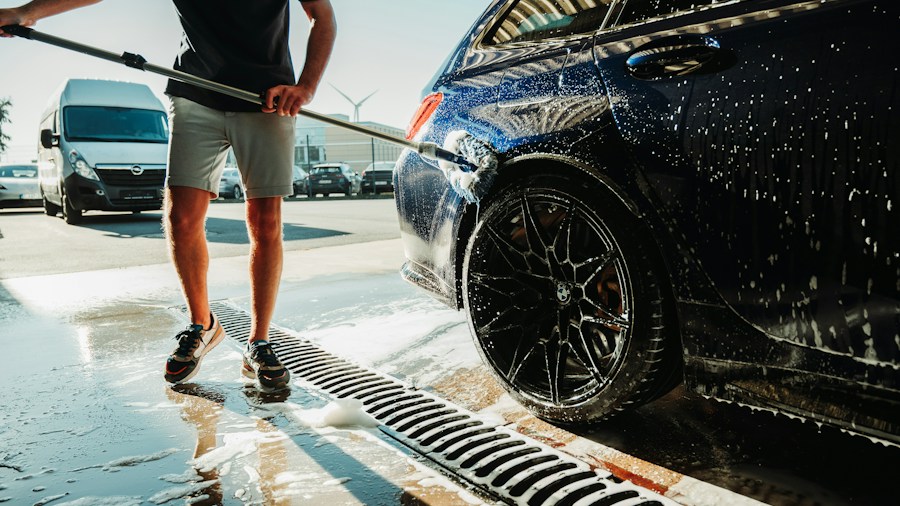
After cleaning, consider applying protective products to extend the benefits of your work. Products like Armor All can protect dashboard and vinyl surfaces, offering preventive benefits against environmental damage while adding UV protection. Apply with a clean cloth and wipe away excess product when done.
Final Inspection Details
Before departing, check your headlights carefully. Cloudy or yellowed lenses reduce visibility and road safety. While basic scrubbing helps, using specialized restoration kits can remove damaged outer layers and apply protective coatings in a straightforward home DIY project.
Taking the time to clean your car thoroughly before a road trip transforms your travel experience. You’ll enjoy a more pleasant environment inside the vehicle, better visibility through clean glass and lights, and peace of mind knowing your car was properly maintained before the journey. This comprehensive approach to vehicle preparation takes time but pays dividends throughout your entire trip.









Write Your Review
No reviews yet. Be the first to share your experience!